搜索
源代码地址 点我
在table标签的上方,加入这样一组html
<div class="demoTable">
    搜索商户:
    <div class="layui-inline">
        <input class="layui-input" name="keyword" id="demoReload" autocomplete="off">
    </div>
    <button class="layui-btn" data-type="reload">搜索</button>
</div>
在js加入初始化代码和定义加载方法
layui.use('table', function(){
    var table = layui.table;

    //方法级渲染
    table.render({
        elem: '#LAY_table_user'
        ,url: 'UVServlet'
        ,cols: [[
            {checkbox: true, fixed: true}
            ,{field:'id', title: 'ID', width:80, sort: true, fixed: true}
            ,{field:'aid', title: '商户', width:80, sort: true}
            ,{field:'uv', title: '访问量', width:80, sort: true,edit:true}
            ,{field:'date', title: '日期', width:180}
            ,{field:'datatype', title: '日期类型', width:100}

        ]]
        ,id: 'testReload'
        ,page: true
        ,height: 600
    });

    var $ = layui.$, active = {
        reload: function(){
            var demoReload = $('#demoReload');

            table.reload('testReload', {
                where: {
                    keyword: demoReload.val()
                }
            });
        }
    };
)};
绑定click点击事件
$('.demoTable .layui-btn').on('click', function(){
    var type = $(this).data('type');
    active[type] ? active[type].call(this) : '';
});
此时点击查询按钮,会将keyword这个关键字传到后端,接下来就是自己处理查询关键字业务了。
到目前为止,搜索也有了,分页也有了,对了,分页会自动传到后端page,limit2个值到后台,相当于(pageindex,pagesize)
预览下效果
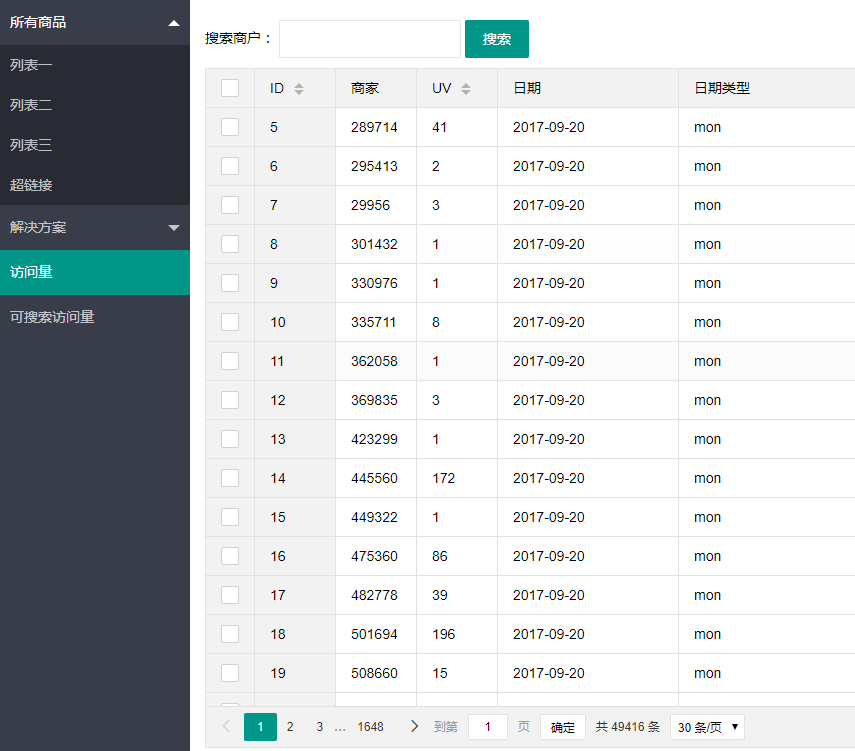
看看请求的参数

从参数可以看出,数据表格默认是get请求,返回的数据结构是这样的
给表格增加操作按钮
首先加入一组html,放到table标签下面,代码如下
<table class="layui-hide" id="LAY_table_user" lay-filter="useruv"></table>
<script type="text/html" id="barDemo">
    <a class="layui-btn layui-btn-primary layui-btn-mini" lay-event="detail">查看</a>
    <a class="layui-btn layui-btn-mini" lay-event="edit">编辑</a>
    <a class="layui-btn layui-btn-danger layui-btn-mini" lay-event="del">删除</a>
</script>
然后在js中指定工具条
//方法级渲染
        table.render({
            elem: '#LAY_table_user'
            ,url: 'UVServlet'
            ,cols: [[
                {checkbox: true, fixed: true}
                ,{field:'id', title: 'ID', width:80, sort: true, fixed: true}
                ,{field:'aid', title: '商户', width:80, sort: true}
                ,{field:'uv', title: '访问量', width:80, sort: true,edit:true}
                ,{field:'date', title: '日期', width:180}
                ,{field:'datatype', title: '日期类型', width:100}
                ,{field:'right', title: '操作', width:177,toolbar:"#barDemo"}
            ]]
            ,id: 'testReload'
            ,page: true
            ,height: 600
        });
界面效果如下
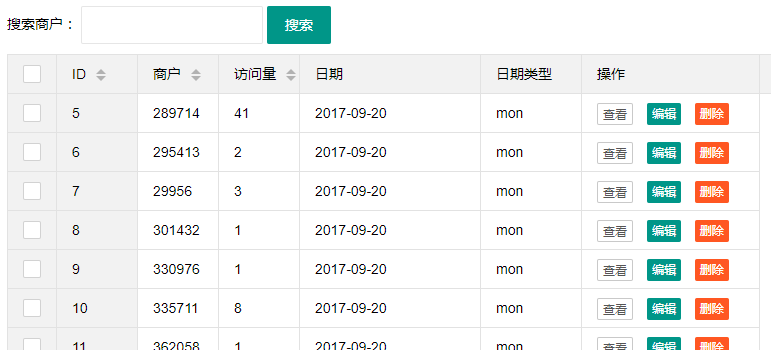
接下来需要给按钮绑定事件,来完成功能操作
在LayUI里面,一般采用table.on()来表示事件,例如这个
//监听表格复选框选择
        table.on('checkbox(useruv)', function(obj){
            console.log(obj)
        });
我勾选一个复选框,就打印一个日志

加入以下js代码,来绑定工具条事件
//监听工具条
  table.on('tool(demo)', function(obj){
    var data = obj.data;
    if(obj.event === 'detail'){
      layer.msg('ID:'+ data.id + ' 的查看操作');
    } else if(obj.event === 'del'){
      layer.confirm('真的删除行么', function(index){
        obj.del();
        layer.close(index);
      });
    } else if(obj.event === 'edit'){
      layer.alert('编辑行:<br>'+ JSON.stringify(data))
    }
  });
这时候,点击按钮就会有反应了。这里说明一下

接下来就是把数据传递到后端,直接将js改造如下
View Code
预览效果
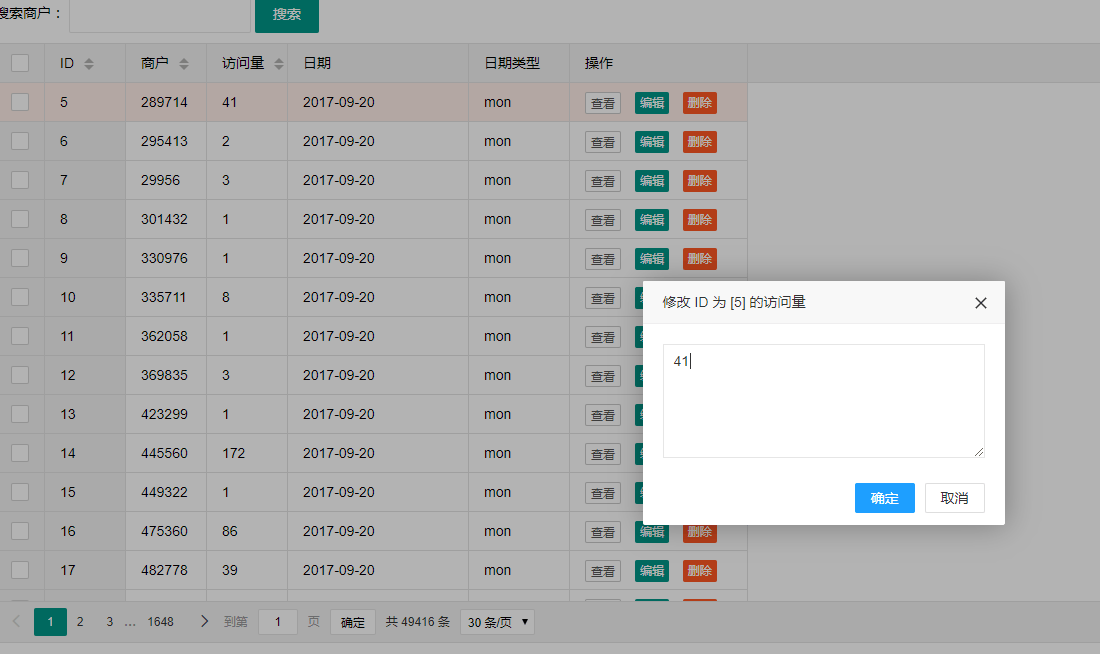
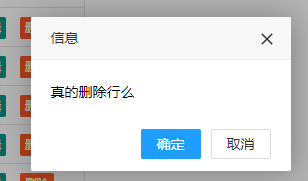
至此,数据表格的绑定、展示、分页、搜索、查看、编辑、删除、排序 功能都已经完成,是不是很简单?此处粘贴出完整的页面代码
应大家要求,将servlet代码贴出来,其中用到了json.jar
package com.example.demo.data.models;

import com.alibaba.fastjson.annotation.JSONField;

public class Uv {
    private int id;
    @JSONField(name="aid")
    public long getaId() {
        return aId;
    }

    public void setAId(long aId) {
        this.aId = aId;
    }

    private long aId;
    @JSONField(name="shopid")
    public long getShopId() {
        return shopId;
    }

    public void setShopId(long shopId) {
        this.shopId = shopId;
    }

    private long shopId;
    @JSONField(name="date")
    public String getDate() {
        return date;
    }

    public void setDate(String date) {
        this.date = date;
    }

    private String date;
    @JSONField(name="uv")
    public int getUv() {
        return uv;
    }

    public void setUv(int uv) {
        this.uv = uv;
    }

    private int uv;
    @JSONField(name="id")
    public int getId() {
        return id;
    }

    public void setId(int id) {
        this.id = id;
    }
    @JSONField(name="datetype")
    public String getDataType() {
        return dataType;
    }

    public void setDataType(String dataType) {
        this.dataType = dataType;
    }

    private String dataType;
}
静态文件下载地址
不少同学不知道怎么绑定数据源,欢迎看我上一篇。表格数据源格式:http://www.layui.com/demo/table/user/?page=1&limit=30
总结:
LayUI为我们提供了强大丰富的类库组件,完善的文档,学习成本和开发成本相对低廉,具有快速,扁平化等优点。
关于数据表格的介绍就到这里。官方文档
源代码地址 点我
应不少同学的要求,因为时间久远项目早就没了,最近花了点时间重新写了个demo,demo验证过 可以正常使用





暂无评论内容